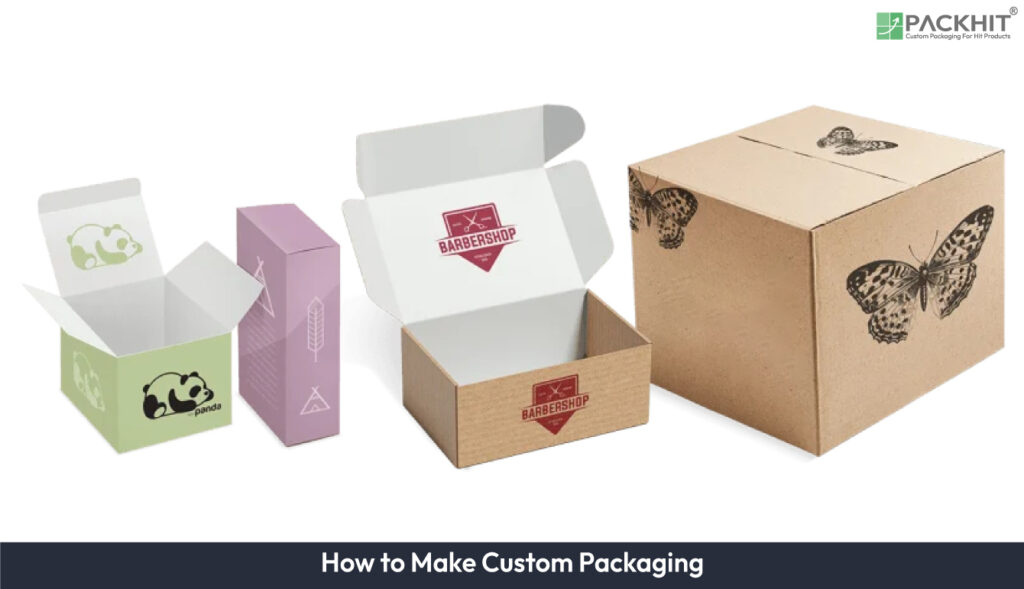
To make custom packaging, begin by identifying the product’s size, weight, and branding needs. Based on these factors, choose the appropriate packaging type, such as boxes, pouches, tubes, or wraps, that best suits both functionality and product presentation. Next, select a suitable box style, such as a mailer, tuck-end, two-piece, or magnetic closure, to enhance the unboxing experience. Once the style is determined, opt for materials like cardboard, corrugated fiberboard, or rigid, considering both durability and cost-effectiveness. After selecting the material, measure the accurate dimensions to provide a snug fit for the product. With these specifications in place, create a dieline template and design the custom packaging with brand-aligned colors, typography, and logos to establish a strong visual identity.
After finalizing the design, choose a printing method such as digital, offset, or screen printing and consider adding premium finishes like embossing or foil stamping to elevate the overall look of the packaging. Before proceeding with mass production, create a prototype to test the packaging’s functionality, durability, and aesthetic appeal. Lastly, collaborate with a reliable packaging supplier to provide high-quality manufacturing, cost efficiency, and timely delivery of custom packaging. Emerging trends of custom packaging include AI-assisted mockups and design, sustainable and eco-friendly materials, minimalist and functional design, interactive and smart packaging, and optimized structural efficiency.
The ten-step process for custom packaging begins with understanding your packaging needs and selecting the packaging type, design, testing, and supply. This flow helps ensure your boxes fit well, look good, and protect items during transit. It is illustrated in the diagram below.
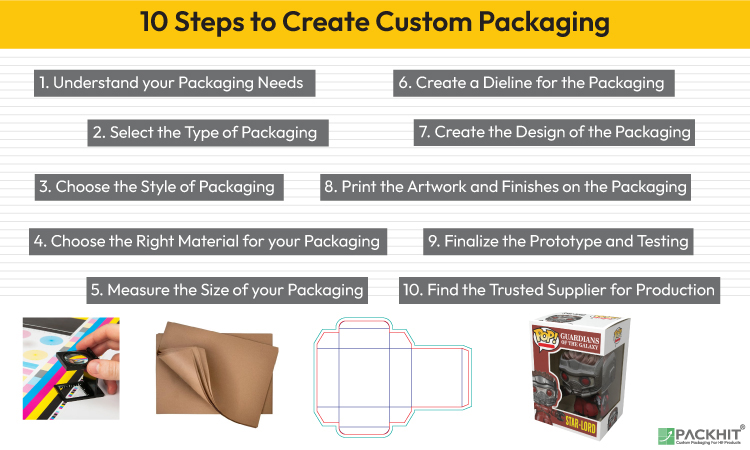
- 1. Understand the Packaging Needs
- 2. Select the Type of Packaging
- 3. Choose the Style of Packaging
- 4. Choose the Right Material for Packaging
- 5. Measure the Size of Packaging
- 6. Create a Dieline for the Packaging
- 7. Create the Design of the Packaging
- 8. Print the Artwork and Finishes on the Packaging
- 9. Finalize the Prototype and Testing
- 10. Find the Trusted Supplier for Production
- How to Choose the Right Custom Packaging for a Product?
- What Type of Custom Packaging is Used for a Product?
- What are the Key Design Elements to Consider for the Custom Packaging of a Product?
- Which Printing Technique is Best for Logo Printing on Custom Packaging?
1. Understand the Packaging Needs
Understanding the packaging needs is crucial for creating effective custom packaging. Begin by identifying packaging requirements based on the type of products to be packaged, along with their size, weight, and fragility. Determine the purpose of custom packaging, whether it is for storage, shipping, or branding, to choose the right design, style, and materials that meet the product’s specific requirements. Consider any special product requirements, such as food safety compliance, protective inserts for fragile items, or enhanced branding elements for a premium look. Set a clear budget that links the per-unit costs and total spending to the chosen material grade, printing method, specialty finishes, and prototype testing limits, while optimizing for bulk volume and avoiding costly last-minute design changes.
The image given below highlights key factors to consider for product packaging needs, including size, weight, and fragility, to help ensure appropriate packaging solutions.
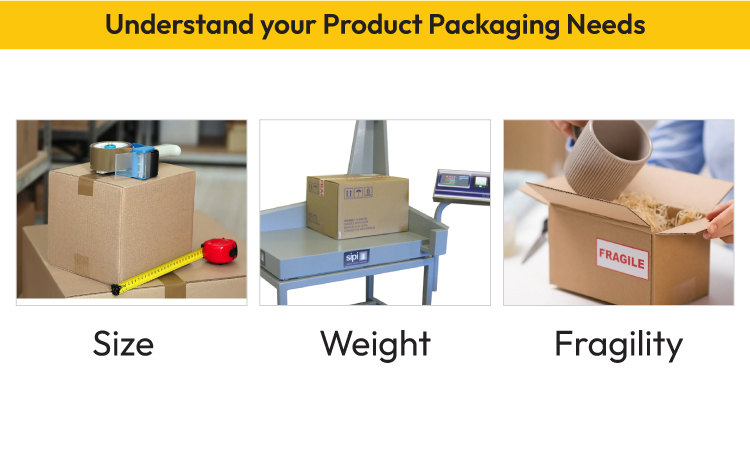
Understanding your packaging needs before selecting the type of packaging is essential to ensure that the chosen design, materials, and style effectively protect the product, meet regulatory requirements, align with branding goals, and stay within budget constraints. After defining your packaging needs, the next step is choosing the right type of packaging.
2. Select the Type of Packaging
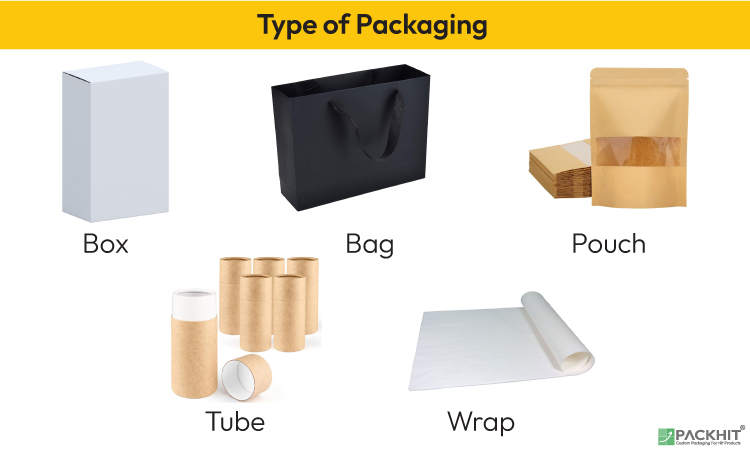
Selecting the right type of packaging before choosing a packaging style is vital because it helps determine the best style that fits the product’s protection, functionality, and presentation needs. Once the appropriate packaging type is determined, proceed with selecting a suitable packaging style.
3. Choose the Style of Packaging
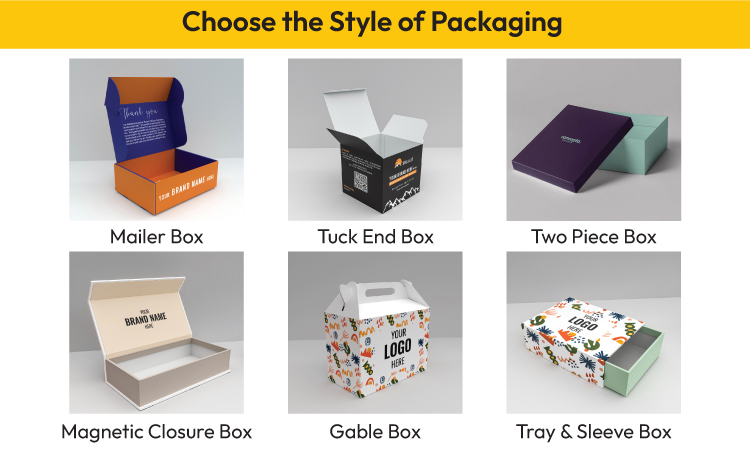
Choosing the right packaging style first can be critical because it determines the structural design, functionality, and branding requirements, allowing one to select a material that provides the necessary durability, protection, and visual appeal for custom packaging. When the style is chosen, the next step is to select the most suitable packaging material.
4. Choose the Right Material for Packaging
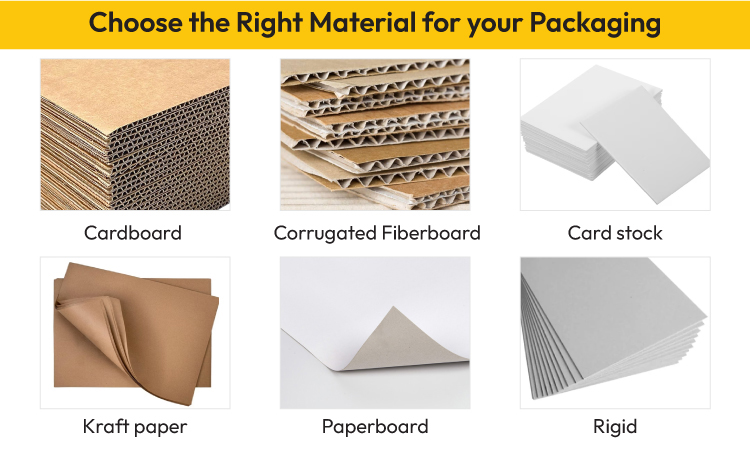
Selecting the right material before measuring packaging size is necessary, as different materials vary in thickness, flexibility, and structural integrity, directly affecting the internal and external dimensions required for a secure and precise fit. As soon after choice of the packaging material is made, confirm accurate box measurements to achieve a snug fit for the product.
5. Measure the Size of Packaging
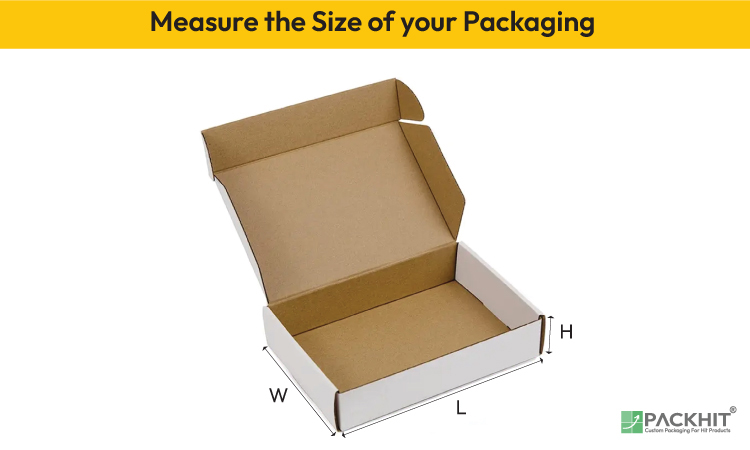
Measuring the size of packaging can help ensure accurate dimensions for a precise layout, proper fold and cut lines, and adequate bleed areas, preventing misalignment and optimizing material usage for cost-effective packaging.
6. Create a Dieline for the Packaging
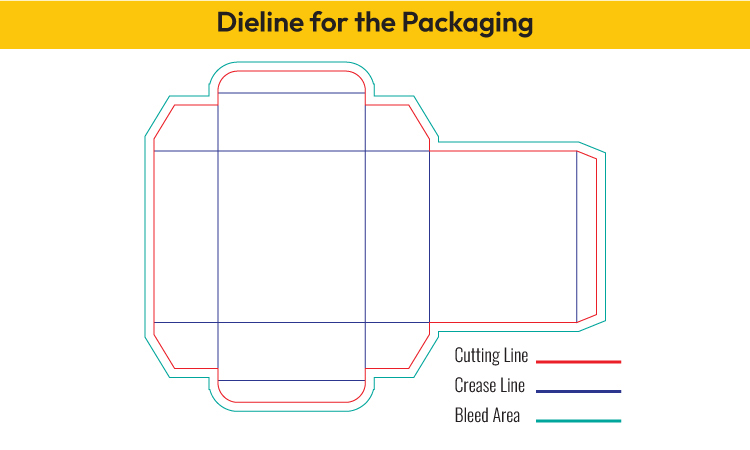
Creating a dieline before designing the packaging can help provide a precise template that delivers accurate placement of design elements, prevents misalignment, accommodates necessary folds and cuts, and helps visualize the final packaging’s appearance and functionality, leading to a seamless and professional design. The dieline then serves as the foundation for a visually appealing and functional packaging design.
7. Create the Design of the Packaging
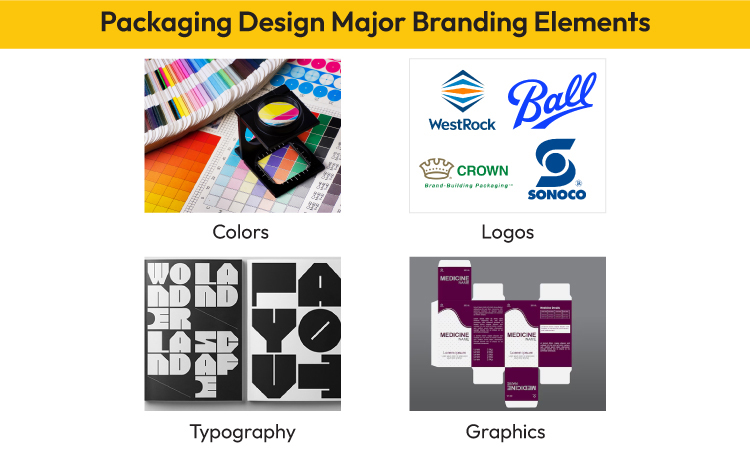
Creating the design of the packaging before printing the logo and adding finishes can help provide a structured layout that can confirm precise logo placement, proper alignment of design elements, and optimal positioning for finishes, resulting in a polished and professional final product. Once the design is complete, the next step is printing it on the packaging.
8. Print the Artwork and Finishes on the Packaging
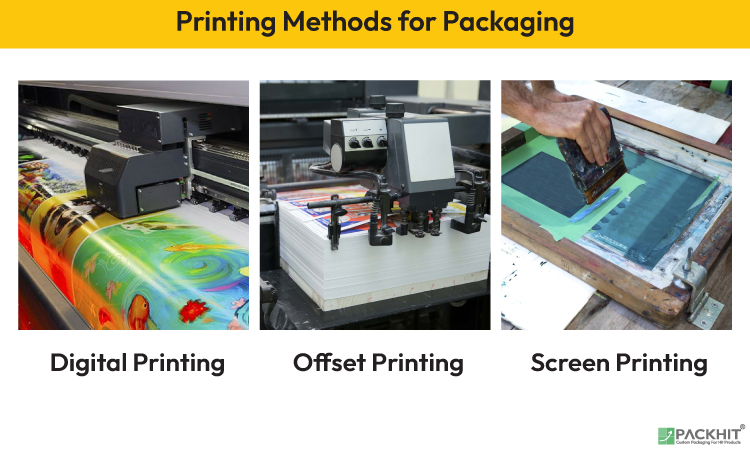
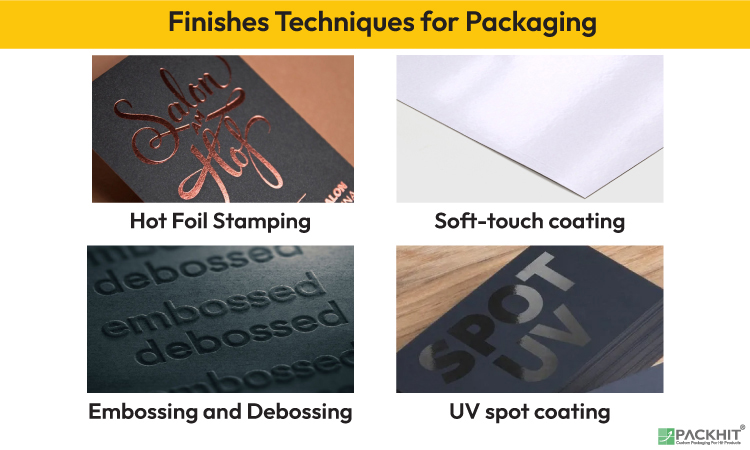
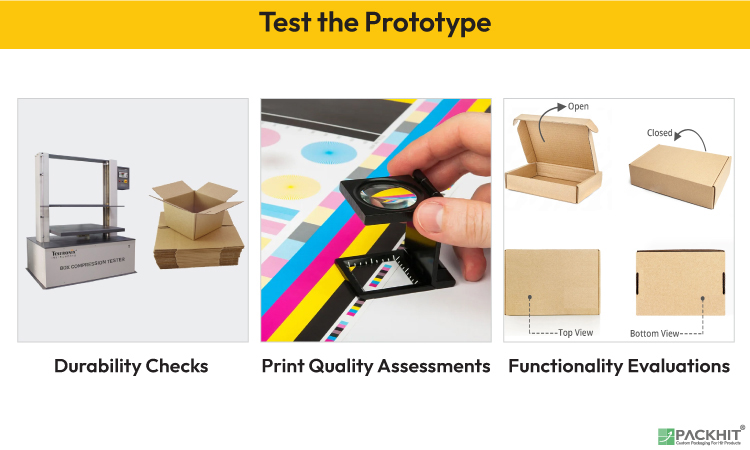
Printing the artwork and finishes on the packaging before finalizing the prototype and testing is vital as it allows for a realistic evaluation of the final product’s appearance, durability, and customer perception, ensuring necessary refinements before mass production.
9. Finalize the Prototype and Testing
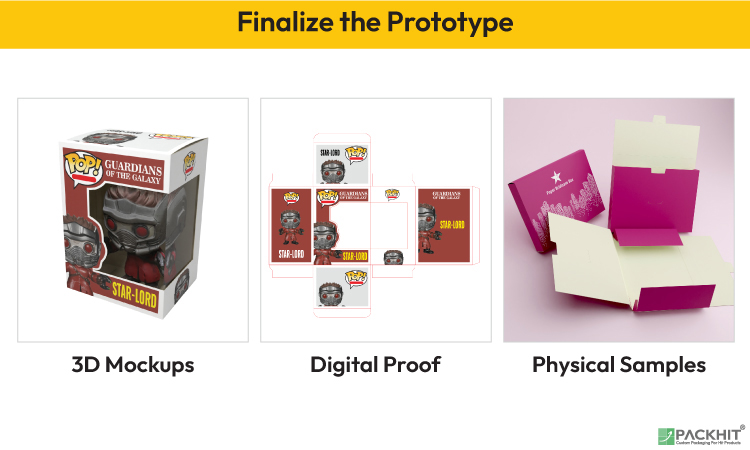
10. Find the Trusted Supplier for Production
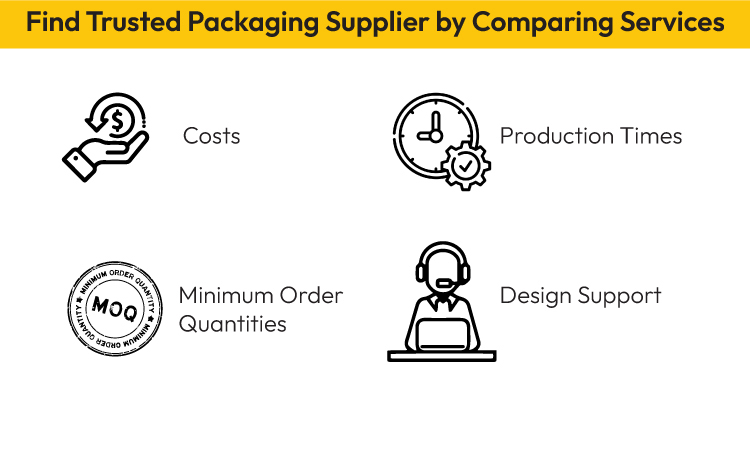
The initial quotes and sample quality can be deceptive; suppliers may raise prices after initial runs, experience hidden shipping delays, or fail to maintain consistent quality during large-scale mass production. It is important to negotiate clear penalty clauses for late deliveries or defective items and start with a smaller intermediate order before committing to maximum volume.
How to Choose the Right Custom Packaging for a Product?
To choose the right packaging for the product, consider factors such as product type, branding requirements, budget, transportation, materials, size, functionality, and environmental impact. Make sure that the packaging aligns with the brand message while being cost-effective, durable, and practical for transport. Choose materials that balance protection and sustainability, optimize size to reduce costs, and design the packaging for both visual attraction and ease of use. Risk factors and challenges include high minimum order quantities, unexpected dimensional weight shipping fees, structural fragility during transit, regulatory compliance hurdles, and sudden material cost or supply chain fluctuations.
What Type of Custom Packaging is Used for a Product?
Custom packaging types are diverse, each serving specific needs: boxes are sturdy and stackable for protection and branding; bags are flexible and lightweight for convenient portability; pouches are airtight and space-efficient for extending shelf life; tubes are squeezable and precise for dispensing liquids; trays are rigid for supporting delicate items; sleeves offer a cost-effective, minimalist branding option; and wraps are lightweight for maintaining freshness.
What are the Key Design Elements to Consider for the Custom Packaging of a Product?
The key design elements to consider for custom packaging of a product include visuals such as color schemes that evoke specific emotions, a distinctive logo that reinforces brand identity, cohesive graphics to enhance visual appeal, typography that matches the brand’s style while remaining easy to read, and thoughtfully designed artwork to differentiate the product on the shelf.
Which Printing Technique is Best for Logo Printing on Custom Packaging?
Offset printing is a popular choice for logo printing on custom packaging, valued for its high quality, sharp color accuracy, and cost efficiency, especially on paper-based materials. While flexography supports high-speed production, it lacks precision, and digital printing, though useful for short runs, is often costly and less color-consistent. Additionally, screen printing is effective for bold designs but proves too labor-intensive for complex logos, reinforcing offset printing as the preferred, reliable method for detailed packaging branding.
Choosing the right printing technique can help achieve a high-quality, professional look for custom packaging.
Struggling to find the best printing method while creating custom packaging for the brand?
Get expert guidance and high-quality custom packaging from Packhit today!