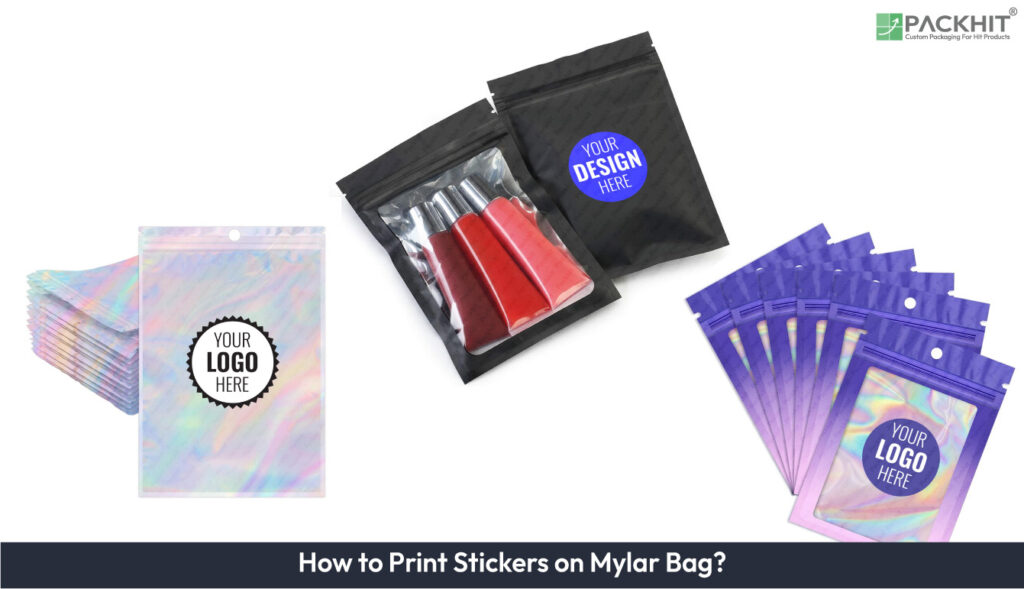
To print stickers on mylar bags, select a compatible BOPP, PET, PVC, or vinyl label with an adhesive rated for the film, storage conditions, and sealing temperature. Measure the flat panel, keep the label away from zippers, folds, gussets, and heat-seal areas, then prepare the artwork with correct bleed, safe margins, color settings, and barcode quiet zones. Clean and dry the application area, test adhesion, print on adhesive-backed stock, and cure or dry the ink before adding a protective laminate when required. Apply the sticker to a supported, wrinkle-free bag by pressing from the center toward the edges, then allow approximately 24-72 hours for the adhesive to mature. Inspect label position, edge adhesion, print rub, seal integrity, and barcode readability before releasing the packaged product.
Mylar bag stickers require a compatible face stock and adhesive selected for the film surface, application temperature, seal exposure, and storage conditions. BOPP, PET, vinyl, and acrylic or rubber-based adhesives cover common applications, while printing methods include UV inkjet, solvent, latex, thermal transfer, flexography, rotogravure, and screen printing.
Apply labels to clean, dry, flat areas outside seams, zippers, gussets, and heat-seal zones. Firm pressure, correct temperature, and a 24-hour test on filled and empty bags help identify corner lift, wrinkles, ink transfer, and weak adhesion before production. Sticker production costs depend on order volume, printing method, color coverage, label size, tooling, lamination, shipping, and application handling. Store labels and mylar bags at about 15-25°C and 40-60% relative humidity, then confirm adhesive life and recycling compatibility with the supplier’s specifications.
- What is Mylar, and why do surface properties matter?
- 1. Select the Sticker Material and Adhesive
- 2. Confirm the Label Size and Placement
- 3. Prepare the Artwork and Print File
- 4. Clean and test the Mylar surface
- 5. Print the Stickers
- 6. Cure, Dry, and Protect the Printed Surface
- 7. Cut and Inspect the Stickers
- 8. Apply the Stickers to the Mylar Bags
- 9. Allow the Adhesive to Mature
- 10. Verify the Finished Label
- Which Sticker Substrates and Adhesives Suit Mylar?
- Which Printing Technologies Apply to Mylar-compatible Stickers?
- What Causes Poor Sticker Adhesion to Mylar Bags, and How Do You Fix It?
- Can Manufacturers Print Directly on a Finished Mylar Bag?
- How Long Before Labels Reach Full Bond Strength?
- How Should Manufacturers Plan Sticker Production and Assess Costs?
What is Mylar, and why do surface properties matter?
Mylar is a biaxially-oriented polyethylene terephthalate (BoPET) laminate used for barrier flexible packaging. Its surface energy, metallization layer, and topcoat control ink wetting and adhesive bonding. Defining specifications: Mylar bag constructions commonly pair a BoPET outer layer (film thickness per layer typically 12–100 µm) with a metallized aluminium layer and inner sealant layers of polyethylene or polypropylene to provide oxygen and moisture barriers. Two inherent features determine label behavior: surface energy (measured in mN/m or dynes/cm) and the presence of surface coatings such as a print-receptive topcoat, anti-slip varnish, or metallization. Variable aspects include metallization percentage, topcoat chemistry, and whether the bag face is sealed to the product, which affects outgassing. These conditions change adhesion and ink cure requirements.
To print stickers on mylar bags by selecting a compatible label, preparing the film surface, printing on adhesive-backed stock, and applying the cured label outside the seal area.
1. Select the Sticker Material and Adhesive
Choose a BOPP, PET, PVC, or vinyl facestock with an adhesive rated for mylar bag surfaces. BOPP and PET resist moisture, scuffing, and routine handling. Use permanent acrylic for standard packaging, rubber-based adhesive for low-energy or textured films, and a heat-resistant adhesive near a heat-seal. Confirm compatibility with the bag film, storage conditions, and sealing process before production.
2. Confirm the Label Size and Placement
Measure the bag’s flat panel and keep the sticker clear of the zipper, gusset, fold, and heat-seal zones. Leave a narrow seal clearance unless the label supplier confirms heat-seal resistance. Check the position on a filled sample because the pouch expands, folds, and shifts after filling. Keep the label flat, readable, and free from corners that can lift during handling.
3. Prepare the Artwork and Print File
Set the file to the finished sticker size, add bleed where the printer requires it, and keep essential text inside the cut line. Use CMYK or approved spot colors, place images at print resolution, outline fonts, and verify barcode contrast and quiet zones. Export a printer-approved PDF/X file with the dieline on a separate vector layer, then review a physical proof before the full run.
4. Clean and test the Mylar surface
Remove dust, oil, and residue from the application area with a lint-free wipe and isopropyl alcohol compatible with the film. Let the surface dry completely before testing. Check surface energy with a dyne pen or contact-angle method. Apply corona treatment, plasma treatment, or a PET-compatible primer if the surface energy is too low or the adhesive does not wet the film evenly. Test the selected sticker stock on the actual bag before production.
5. Print the Stickers
Choose UV inkjet for short or medium runs, flexography or gravure for high-volume production, and thermal transfer for variable lot codes or serialized data. Select the method according to production volume, substrate, and required resolution. Print on adhesive-backed stock unless the process specification calls for direct film printing. Match the ink, topcoat, facestock, and adhesive so the label prints cleanly and bonds to the mylar surface.
6. Cure, Dry, and Protect the Printed Surface
Cure UV ink with the printer-specified lamp dose and confirm rub resistance before application. Let solvent-based labels dry and outgas according to the ink manufacturer’s process requirements. Add a laminate if the sticker requires extra resistance to abrasion, moisture, or handling. Laminate only after the ink reaches its required cure level, because trapped solvent can cause blisters, lifting, or print transfer.
7. Cut and Inspect the Stickers
Use kiss-cutting for roll labels, leaving the liner intact for handling. Inspect the cut edge, color coverage, registration, text legibility, and barcode scanability. The required tolerance depends on the press, die, label size, and inspection standard. Remove labels with lifting edges, incomplete cuts, scratches, ink rub, or visible bubbles before application.
8. Apply the Stickers to the Mylar Bags
Apply each sticker to a clean, dry, wrinkle-free bag. During manual application, align the label, tack the center, then press toward the edges with a soft roller or squeegee. For automated application, adjust the label gap, tamp dwell, conveyor speed, vacuum, and roller pressure to match the applicator, label stock, and pouch format. Support the bag during placement so the flexible film does not fold or trap air.
9. Allow the Adhesive to Mature
Keep labeled bags in a clean, moderate environment while the bond develops; the required conditions depend on the adhesive chemistry, film surface, and storage conditions. Initial tack forms within minutes, while full peel and shear strength commonly develop within one to three days. Avoid stacking, refrigeration, heat exposure, or abrasion until the adhesive has matured.
10. Verify the Finished Label
Check label position, edge lift, wrinkles, bubbles, seal integrity, print rub, and barcode grade. Record peel results at set intervals to track adhesive bond development. Test samples under the temperature and humidity conditions expected during storage or distribution.
Which Sticker Substrates and Adhesives Suit Mylar?
BOPP, PET, and vinyl sticker substrates paired with permanent acrylic or high-tack rubber adhesives suit most mylar bags. Select the label construction according to the bag film, surface texture, application temperature, storage conditions, and required removal behavior. A film face stock from 50–200 µm keeps the sticker flexible while resisting moisture and handling damage.
| Sticker substrate | Adhesive pairing | Mylar bag application |
|---|---|---|
| BOPP film | Permanent acrylic | General product labels, ingredient panels, and moisture-exposed packaging |
| PET film | Permanent acrylic or heat-resistant adhesive | Labels that require dimensional stability, abrasion resistance, or exposure near a heat-seal operation |
| Vinyl film | High-tack rubber-based adhesive | Conforming labels on lightly textured, flexible, or low-surface-energy mylar films |
| Paper face stock | Permanent acrylic | Dry-storage labels where lower material cost matters more than moisture resistance |
| BOPP or PET film | Removable acrylic | Temporary promotions, batch identifiers, and labels that require low-residue removal |
The table compares common sticker constructions for preliminary selection rather than guaranteeing adhesion on every mylar bag. Clean the film with a manufacturer-approved, residue-free method, allow the surface to dry, and apply the label with firm, even pressure. Adhesion depends on surface energy, film texture, contamination, label flexibility, dwell time, and application temperature. If the surface measures below approximately 38 mN/m, test a high-tack rubber adhesive or a PET-compatible primer before production.
Which Printing Technologies Apply to Mylar-compatible Stickers?
Three production methods are common: print-to-label, which prints on adhesive-backed stock before application; print-direct-to-film, which prints on film before lamination; and thermal or variable printing after pouch formation.
Each method has different production requirements:
- UV-curable inkjet (roll-to-roll): produces sharp labels and cures ink at once. It works with vinyl and PET facestocks, while metallized surfaces may require pre-treatment for good adhesion.
- Solvent or eco-solvent inkjet: Adheres well to vinyl labels. It needs drying and solvent outgassing, so roll handling takes longer than with UV ink.
- Latex inkjet: Uses water-based ink with polymer binders. It adheres well to coated liners but needs heat to dry.
- Thermal transfer: Prints variable data, short-run text, and lot codes. Direct printing requires a printable topcoat on the bag. Otherwise, the printer marks label stock for later application.
- Flexography or rotogravure (in-line): handles high-volume runs and pre-laminated film, but the ink and drying chemistry must match the later lamination process.
- Screen printing: Applies thick ink or varnish layers for tactile labels. It also supports metallic effects and spot varnish on the outer mylar surface.
Medical and hazardous-goods labels use similar adhesive types but require stricter testing. A label that works on a retail pouch may fail under refrigeration or sterilization, so adjust its material, adhesive, and performance specifications for those conditions.
What Causes Poor Sticker Adhesion to Mylar Bags, and How Do You Fix It?
Poor adhesion usually results from mylar bag surface contamination, low surface energy, moisture, unsuitable adhesive, or insufficient application pressure. Heat-sealed edges, folds, and heavily creased areas also reduce label contact.
- Contamination: Remove oil, dust, and packaging residue with a lint-free cloth and a cleaner compatible with polyester film. Let the surface dry before application.
- Surface energy: Select a label adhesive rated for smooth plastic films, including biaxially oriented polyethylene terephthalate, the polyester film used for mylar bags.
- Moisture: Apply stickers to dry bags at room temperature. Condensation prevents the adhesive from forming consistent contact with the film.
- Temperature: Follow the adhesive manufacturer’s application range. Cold film can prevent initial bonding, while excess heat can soften adhesive and cause edge lift.
- Pressure: Press the label from the center toward the edges with a rubber roller or squeegee. Firm pressure removes air pockets and seats the adhesive against the film.
- Placement: Keep stickers away from gussets, seams, zipper tracks, and heat-seal zones. A flat panel gives the label more contact area and reduces peeling.
Test the selected sticker material on filled and empty bags for at least 24 hours. Check corner lift, wrinkling, ink transfer, and removal force before starting a production run.
How Far From the Heat-seal Should the Sticker be Placed?
Keep stickers at least 10–15 mm from the heat-seal line unless using materials qualified for the specific seal temperature and dwell time. Adhesives and facestocks may deform, lose tack, or transfer into the seal if exposed to seal temperatures; specification sheets from adhesive suppliers will state the maximum continuous and short-term temperature limits.
Can Manufacturers Print Directly on a Finished Mylar Bag?
Yes, but only if the bag has a printable topcoat or has been pre-treated; otherwise, print onto label stock and apply the label. Direct thermal or laser printing onto an untreated metallized mylar surface typically fails because of low surface energy and lack of ink anchorage; if in-line printing is required, request a print-receptive coating on the manufacturer’s specification sheet.
How Long Before Labels Reach Full Bond Strength?
Full adhesive bond strength generally develops over 24–72 hours under standard conditions (20–25°C, 40–60% RH). Initial tack allows handling within minutes, but final peel values and shear stability should be validated after the recommended aging period for the selected adhesive.
How Should Manufacturers Plan Sticker Production and Assess Costs?
Manufacturers should plan sticker production and costs by estimating order volume, print method, color coverage, lamination, die requirements, shipping, and application labor. Digital printing can suit shorter runs, while longer runs depend on artwork coverage, repeat dimensions, label stock, finishing, and setup charges. Supplier pricing also changes with label size, adhesive type, order timing, and application method. Per-label costs can include tooling, lamination, freight, inspection, and placement.
Storage conditions affect label adhesion and mylar bag performance. Keep both materials in a clean, dry, temperature-controlled area and follow the adhesive, laminate, and bag supplier’s instructions. Protect adhesive-backed rolls from heat, moisture, dust, crushing, and direct sunlight until application. Labels, adhesives, and laminates can also affect recycling, especially in mono-material streams. Confirm that the label construction and adhesive match the bag’s recycling specification before placing a production order.