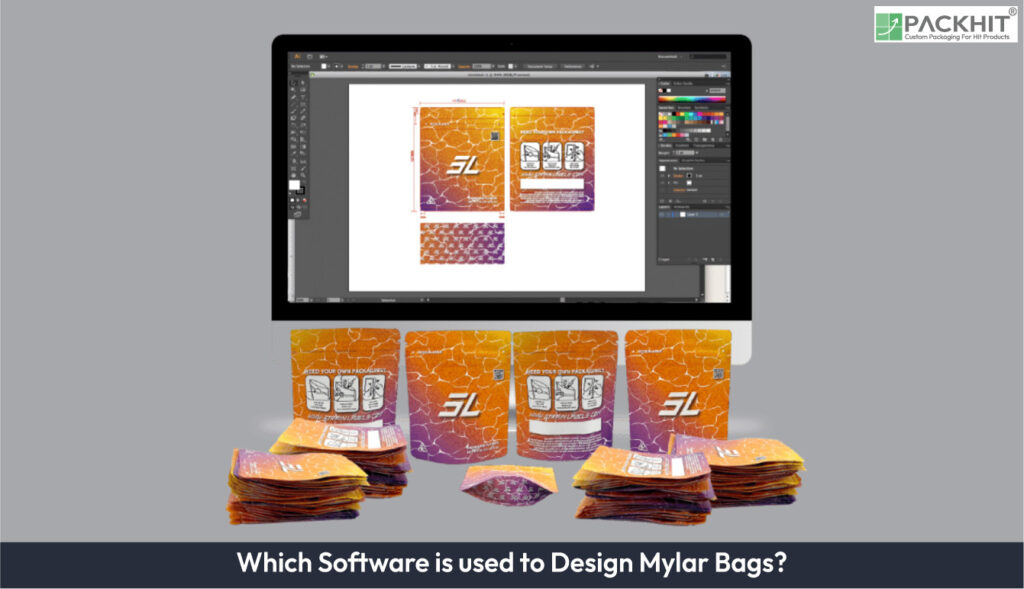
Designing mylar bags involves using specialized software across different categories, including graphic design, 3D modeling, and packaging CAD tools. Graphic design tools (like Adobe Illustrator) create scalable, high-resolution artwork for branding and regulatory compliance. 3D modeling applications (like Blender) visualize the final product, including structural gussets and material transparency. Packaging CAD software (like ArtiosCAD) generates dielines and simulates material durability. Together, these tools bridge artwork creation, structural engineering, and prepress preparation.
- Software Categories for Mylar Bag Design
- What is the Design Workflow for Mylar Bags?
- How Do Mylar Bag Design Software Tools Address Functional and Aesthetic Requirements?
- Benefits of Using Specialized Software for Mylar Bag Design
- Challenges in Mylar Bag Design Software Integration
- How to Choose the Right Mylar Bag Design Software?
Software Categories for Mylar Bag Design
The design of mylar bags involves multiple software categories, each serving a specific role in the workflow. These categories include:
1. Graphic Design Software
Designers use graphic design software like Adobe Illustrator and CorelDRAW to create the visual identity of mylar bags. Vector-based formats ensure high-resolution branding, logos, and product information remain precise, while features like Pantone color matching and layer management support complex layouts.
2. 3D Modeling and Visualization Tools
Simulate the physical appearance of mylar bags using 3D modeling and visualization tools like Blender or Esko Studio. These applications provide realistic previews, helping designers evaluate bag dimensions, gussets, and material transparency. Creating photorealistic mockups aids in client approvals and marketing efforts.
3. Packaging CAD Software
Packaging-specific CAD software, such as ArtiosCAD or Packmage, focuses on the structural design of mylar bags. These tools are used to create dielines, which are the flat templates that guide the cutting and folding of the material. Packaging CAD and simulation tools can help model selected structural or material considerations, but actual durability and shelf-life depend on the material specification, production process, testing, and applicable requirements.
What is the Design Workflow for Mylar Bags?
The design workflow for mylar bags typically involves a sequential process that integrates multiple software tools. Each stage of the workflow addresses specific design and production requirements:
1. Artwork Creation
The process begins with the creation of artwork using graphic design software. Designers develop the visual elements, including branding, product descriptions, and regulatory information. Tools like Adobe Illustrator are used to ensure that the artwork adheres to printing specifications, such as bleed margins and resolution requirements.
2. Structural Design
Packaging CAD software defines the structural dielines once artwork is finalized. This stage establishes essential dimensions, folds, and cuts, while simulating bag performance during filling and sealing.
3. Prepress Preparation
Prepare designs for the press using applications like Esko Automation Engine. This phase manages color separation, trapping, and proofing to optimize the layout for specific printing methods, whether flexographic, rotogravure, or digital.
How Do Mylar Bag Design Software Tools Address Functional and Aesthetic Requirements?
Mylar bag design software is engineered to balance aesthetic appeal with functional performance. For instance, graphic design tools ensure that branding elements are visually striking and aligned with marketing objectives. Simultaneously, CAD software focuses on structural design and can help evaluate how a bag may respond to mechanical stresses during filling, sealing, and transportation; actual performance depends on the material specification, production process, and testing. Material simulation features further enhance functionality by modeling how the bag might perform under specific environmental conditions, such as humidity or temperature fluctuations, though results depend on the software, inputs, and material specifications.
Benefits of Using Specialized Software for Mylar Bag Design
The use of specialized software in mylar bag design offers several benefits:
- Efficiency: Automates repetitive tasks, such as dieline creation and color separation.
- Accuracy: Reduces errors in dimensions, artwork alignment, and printing specifications.
- Customization: Enables the creation of tailored designs for specific products and markets.
- Visualization: Provides realistic previews, facilitating client approvals and marketing strategies.
- Compliance Assistance: Software may assist with labeling and material safety checks, but it does not, by itself, guarantee compliance with regulatory standards.
Challenges in Mylar Bag Design Software Integration
Integrating software tools into the mylar bag design process, while advantageous, involves several challenges that manufacturers must address to optimize their workflow. A significant hurdle is the steep learning curve associated with advanced software platforms, which often require specialized training to use effectively. The high cost of licensing professional-grade software can be a barrier, particularly for smaller manufacturers with limited budgets. Compatibility issues between different software tools also pose a challenge, as seamless integration is critical for maintaining efficiency across the entire design workflow. Many of these applications are resource-intensive, demanding high-performance hardware to run smoothly, which can further add to the operational costs.
How to Choose the Right Mylar Bag Design Software?
To choose the right mylar bag design software, consider the specific role the software plays within the design workflow and your project requirements. A successful strategy often involves selecting a combination of specialized tools rather than relying on a single application.
- Define Your Workflow Stage: Match the software to the specific task you need to accomplish:
- Graphic Design: If your primary focus is visual branding, logos, and high-resolution layouts, prioritize vector-based graphic design software like Adobe Illustrator or CorelDRAW. These tools are essential for managing Pantone colors and complex visual hierarchies.
- Structural Design & Dielines: If you need to create functional templates for cutting and folding, select packaging-specific CAD software such as ArtiosCAD or Packmage. These tools are necessary to define accurate dimensions and structural folds.
- 3D Visualization & Prototyping: For client presentations and evaluating dimensions, gussets, or material transparency, utilize 3D modeling and visualization tools like Blender or Esko Studio. These applications bridge the gap between design and physical realization through photorealistic mockups.
- Prepress Preparation: For final production readiness, including color separation, trapping, and proofing, use industry-standard prepress applications like Esko Automation Engine to ensure compatibility with your chosen printing method (flexographic, rotogravure, or digital).
- Balance Aesthetics and Functionality: While graphic design tools ensure branding impact, remember that aesthetic appeal must be balanced with structural performance. If you need to simulate how a bag will handle mechanical stresses or environmental conditions like humidity, ensure your chosen CAD or simulation tools offer features that allow you to model these factors.
- Integration Needs: Consider how the tools communicate with one another. A streamlined workflow relies on software that supports the transfer of files across stages, from the initial artwork creation to the final prepress layout