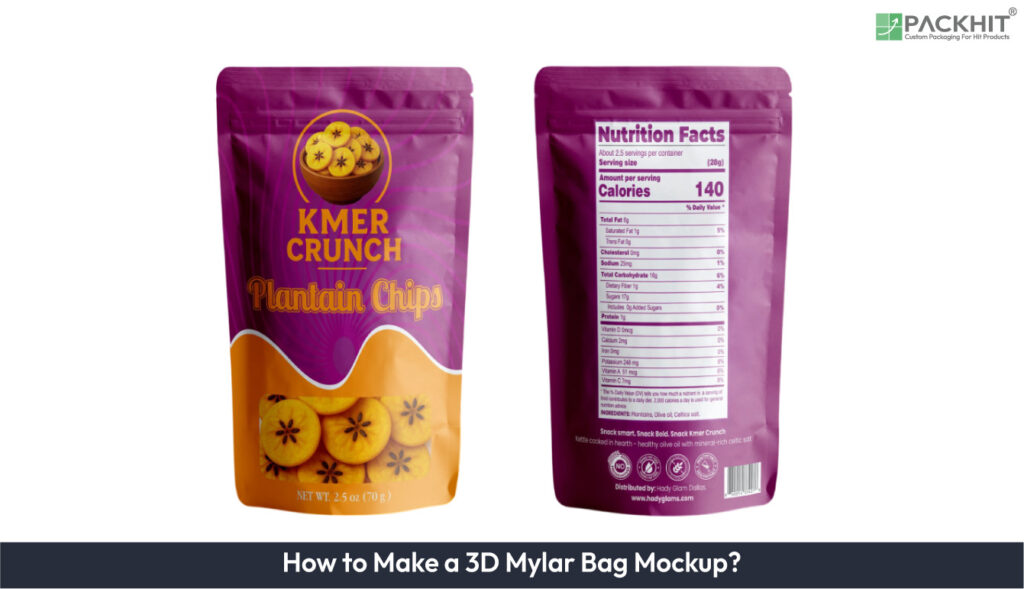
Creating a 3D mylar bag mockup combines advanced graphic design and modeling techniques to simulate the packaging’s unique physical and visual properties. It begins with defining design specifications, such as dimensions, shape, and closure type, followed by selecting either pre-configured templates or custom models to match product requirements. Designers apply realistic mylar textures, including metallic finishes and opacity adjustments, to replicate its durability and light-blocking features. Branding elements, such as logos and labels, are integrated carefully to ensure visibility across curved or reflective surfaces. The process concludes with high-resolution rendering, where lighting and environmental effects are adjusted to produce lifelike visuals from multiple angles. These mockups may reduce some prototype-related costs and waste and can support faster design iterations, depending on the workflow and whether physical samples are still needed, while also addressing challenges such as material complexity, software proficiency, and hardware limitations.
- What Tools Are Used to Create 3D Mylar Bag Mockups?
- How is a 3D Mylar Bag Mockup Created?
- Step 1: Define the Design Specifications
- Step 2: Select a Template or Create a Custom Model
- Step 3: Apply Material Textures and Properties
- Step 4: Add Branding and Labeling
- Step 5: Render the Final Mockup
- Benefits of Using 3D Mylar Bag Mockups
- What Challenges Are Associated with 3D Mylar Bag Mockups?
What Tools Are Used to Create 3D Mylar Bag Mockups?
Creating 3D mylar bag mockups typically relies on advanced graphic design and 3D modeling software, including the following popular tools:
- Adobe Dimension: A user-friendly platform for creating photorealistic 3D renderings, including packaging mockups.
- Blender: An open-source 3D modeling tool that offers extensive customization options for material properties and lighting.
- Cinema 4D: A professional-grade software ideal for complex packaging designs and animations.
- KeyShot: A rendering tool known for its ability to simulate realistic lighting and material textures.
These tools allow designers to import templates, apply material-specific textures, and adjust parameters such as opacity, reflectivity, and curvature to replicate the unique properties of mylar. Plugins and libraries for packaging design can streamline the process by providing pre-configured settings tailored to mylar bags.
How is a 3D Mylar Bag Mockup Created?
Creating a 3D mylar bag mockup is a multi-step workflow that ranges from defining technical specifications to rendering high-resolution visual output.
Step 1: Define the Design Specifications
Defining the design specifications is the essential first step, requiring manufacturers to establish the precise dimensions, shape, and functional requirements of the mylar bag. This includes determining the bag’s volume capacity, closure type (such as ziplock or heat seal), and its intended application. For instance, a flat pouch may be more suitable for single-use products, while stand-up pouches offer greater versatility for bulk items. These specifications directly influence template selection and modeling strategy.
Step 2: Select a Template or Create a Custom Model
Once specifications are established, designers can either select a template or create a custom model from scratch. Pre-existing templates simplify the process for standard bag shapes like flat and stand-up pouches, often available in popular 3D modeling software. Custom models, on the other hand, are required for irregular or branded designs, allowing for greater creative freedom to align with product-specific packaging requirements.
Step 3: Apply Material Textures and Properties
Applying realistic material textures and properties comes next to accurately simulate mylar’s distinctive finish. Designers apply metallic textures to achieve a reflective surface, adjust opacity settings for semi-transparency where applicable, and incorporate realistic imperfections like subtle creases or folds. These adjustments ensure the mockup mirrors the functional and visual qualities of mylar, which is valued for its durability and light-blocking properties.
Step 4: Add Branding and Labeling
Adding branding and labeling elements completes the pouch design by overlaying high-resolution logos and product details onto the bag’s surface. This step requires careful alignment to maintain legibility, particularly around curved or irregular surfaces. Designers often test how branding appears under various lighting conditions to ensure consistency in different viewing environments, such as retail shelves or e-commerce product displays.
Step 5: Render the Final Mockup
Rendering the final mockup produces the high-resolution images needed to showcase the finished packaging. Lighting, shadows, and environmental effects are adjusted to simulate conditions such as store lighting or outdoor photography. Designers may create multiple renderings showcasing different angles or configurations, enabling stakeholders to comprehensively evaluate the packaging’s visual impact and functionality.
Benefits of Using 3D Mylar Bag Mockups
Using 3D mylar bag mockups provides manufacturers and designers with distinct practical benefits that streamline packaging workflows and enhance product presentation:
- Reduced Production Costs: 3D mockups can reduce the need for some physical prototypes and may lower material, labor, or logistics costs, depending on the workflow.
- Accelerated Design Iteration: Enables rapid adjustments to design elements, such as dimensions or labeling, without physical constraints.
- Realistic Visualization: They can provide a useful visual preview, although physical samples may still be needed to verify fit, materials, and production details.
- Eco-Friendly Approach: They may also reduce sample waste when fewer disposable prototypes are produced.
These benefits underscore the value of 3D mockups in packaging design, particularly for materials like mylar, which require careful consideration of their unique physical and aesthetic attributes.
What Challenges Are Associated with 3D Mylar Bag Mockups?
Developing 3D mylar bag mockups, while beneficial, introduces several technical and logistical challenges that designers and manufacturers must address to achieve optimal results:
- Material Complexity: Mylar’s unique reflective and flexible properties require highly detailed simulations. Designers must accurately replicate metallic finishes, surface imperfections, and light interactions to produce a realistic representation. The precision needed often demands advanced rendering capabilities and material-specific adjustments.
- Software Proficiency: Mastering 3D modeling tools like Blender, Cinema 4D, or Adobe Dimension can be overwhelming for those new to the field. Many of these platforms include steep learning curves, particularly when exploring advanced features such as dynamic lighting or texture mapping tailored to mylar’s appearance.
- Hardware Limitations: Rendering high-quality 3D mockups with detailed textures and lighting effects requires substantial computational resources. Designers may experience delays unless they use optimized hardware setups, such as systems equipped with powerful GPUs and sufficient memory.
- Iterative Design Workflows: While 3D mockups simplify design iterations, frequent adjustments to dimensions, branding, or textures can increase project timelines. Managing these iterations alongside stakeholder feedback requires efficient collaboration tools and version control systems to track progress without compromising quality.
To overcome these challenges, manufacturers can invest in professional training for 3D software, utilize pre-configured templates to streamline workflows, and adopt scalable hardware solutions.