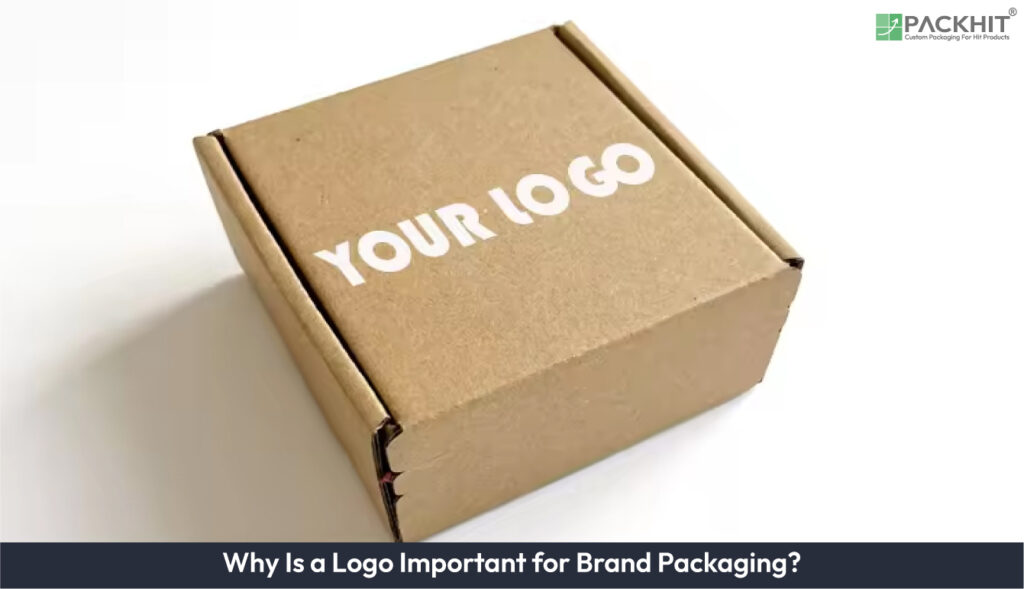
A logo on brand packaging maintains consistent visual identity, improves shelf recognition, and turns the package into a marketing touchpoint. It supports repeat purchase by helping customers find the same product again, and it differentiates items in crowded aisles through recognizable colors, typography, and placement.
- How Does a Logo Establish Brand Identity on Packaging?
- Functional Roles of Logos in Packaging
- Consistency Across Packaging Solutions
- Enhancing Visual Representation
- Transforming Packaging into a Marketing Asset
- Benefits of Custom Packaging with Logos
- How are Logos Integrated into Packaging Design?
- Where Should a Logo be Placed on Packaging?
- Which Printing or Finishing Method is Best for a Packaging Logo?
- How Long Does Logo Integration into Packaging Take?
- How to Keep a Logo Clear and Durable on Packaging?
- What Measurable Indicators Show Effective Logo Integration on Packaging?
How Does a Logo Establish Brand Identity on Packaging?
A logo establishes brand identity on packaging by giving each carton, mailer, or paper sleeve a fixed visual marker that stays consistent across product lines. This stays effective when the print remains legible at the viewing distance of the intended channel, and the logo is reproduced within the same color and placement tolerances across SKUs, even on different paper coatings. Manufacturers get repeatable placement rules for the front panel, lid, and side panels so shoppers can identify the brand within a single glance.
Logo clarity affects packaging outcomes in retail and e-commerce. When the logo appears in the same position on every pack, it improves shelf scanning because customers can spot the brand faster among competing items; the gain holds if the print size and viewing distance match the typical retail aisle and the same branding layout stays consistent. In online listings, the logo on the physical pack matches the brand shown in product photos, which reduces mismatch when the box arrives.
Custom logo placement also changes the unboxing experience. A visible logo on the outer wrap or shipping mailer creates a clear brand moment before the inner contents are shown, which strengthens recognition of the same brand across first-touch, second-touch, and repeat purchases.
Functional Roles of Logos in Packaging
Logos perform three packaging-specific functions: they standardize brand markings across SKUs, they make the brand easier to read on pack surfaces, and they convert the package into a printed brand signal during handling.
Consistency Across Packaging Solutions
Consistency in logo usage across paper-based packaging solutions drives recognizability on real shelves. Set the same logo proportions, safe area, and color rules across the outer label, corner wrap, and insert cards. This reduces variation that can cause misidentification, especially when a manufacturer uses multiple printers, carton sizes, or packaging formats.
Enhancing Visual Representation
A logo is the main visual representation on packaging, and it controls how the brand reads at packaging distance. Use legible type sizes and high-contrast colors for the front panel, where customers typically scan first. In product categories such as food, cosmetics, and consumer electronics, a sharp logo read helps the brand look intentional and reduces confusion with look-alike products.
Transforming Packaging into a Marketing Asset
A logo turns packaging from a protective wrap into a brand communication surface. It clarifies ownership at a glance during handling, shelf placement, and unboxing. That recognition matters because paper cartons are often scanned for inventory checks and sorted by visual cues. If the logo prints too faintly or too small, customers and warehouse staff must rely on slower label reading, which increases mis-sorts and delays.
When the logo is paired with consistent graphics on the outer carton and inner inserts, it communicates product identity during handling, not only at the shelf. Manufacturers often see faster recognition when printed packaging includes matching logo artwork on the lid, seal area, and any included accessory cards.
Benefits of Custom Packaging with Logos
Custom packaging with logos improves brand recognition on physical packs, differentiates SKUs in crowded retail layouts, and strengthens repeat identification through consistent markings on shipping and shelf-ready packaging.
Improved Customer Recognition
Custom packaging with logos links each order to the brand through a direct visual cue. On unboxed items, customers often re-check the logo before discarding inserts, so placement on the outer pack and on visible inner cards increases the chance of recognizing the same brand across future purchases. In e-commerce, this reduces the gap between product images and the delivered box.
Differentiation in Competitive Markets
Logos differentiate in competitive markets by making the brand legible on shelf labels, side panels, and online thumbnails. Manufacturers can use distinct logo color usage and placement patterns across packaging formats, such as front-facing logos on cartons and smaller corner logos on sleeves. Food and beverage packaging often combines bold logo typography with brand colors so shoppers can separate similar package designs at a glance.
Enhanced Marketing Utility
Custom logo packaging supports marketing utility because the logo works every time the pack changes hands. Put the logo where it stays visible during storage, pickup, and disposal, including outer wraps, tape or seal areas, and included inserts. That repetition builds brand recognition as customers revisit the pack for information, such as ingredient or usage panels, which remain attached to the branded outer surface.
How are Logos Integrated into Packaging Design?
Logos integrate into packaging design through embossing, debossing, and die-cutting. These methods control logo depth, edge definition, and legibility, while keeping the brand mark consistent across formats and paper grades.
Design Processes and Techniques
Logo integration starts with prepress artwork that matches the packaging structure. Printers typically run a form of embossing, debossing, or die-cutting so the logo reads at normal viewing distance and under product handling.
- Embossing creates raised surfaces that improve logo contrast on matte paper and highlight lettering under side light.
- Debossing presses artwork into the carton surface, which can reduce scuff visibility while keeping the logo readable.
- Die-cutting removes material to form sharp logo outlines if the design includes cutouts or windowed branding.
These steps also interact with paper thickness and finish. Thicker stocks accept deeper relief marks, while coated papers change how edges reflect and how ink sits near raised or recessed areas.
Consistency Recommendations
Designers standardize logo artwork across product lines by locking placement, scale, and artwork safe zones relative to folds and glue seams. Consistency holds even when manufacturers change carton styles, dielines, or paper grades, because the logo remains in the same position and uses the same spacing to structural elements.
Teams also document finishing settings per process, such as emboss depth targets and spot-color or CMYK reproduction rules. This documentation limits variation between production runs, especially for fashion and consumer goods that switch packaging sizes.
Durability and Limitations
Abrasion resistance limits how well ink and relief marks survive rubbing, sliding, and carton stacking. Moisture and condensation risk trigger spotting and coating disturbance, especially where cold transport changes surface temperature. Ink and adhesion limits show up as smearing, flaking, or partial loss after repeated contact, such as during case packing.
Common failure modes include scuffing on high-friction faces, edge rounding on embossed logos, and water spots on exposed flat areas. These failures concentrate near folds, corners, and seam regions because those points see higher stress and higher touch frequency.
Maintenance and Handling
Maintenance and handling follow directly from the failure modes. For scuff and abrasion issues, staff use clean gloves where practical, avoid over-stacking during inspection, and keep cartons separated when moving between lines. For moisture and condensation risk, teams store cartons in controlled humidity areas and minimize time spent in cold rooms before opening packaging.
For ink and adhesion limits, handling guides specify low-friction contact points, reduce direct tape application over the logo area, and prevent rework that involves rubbing. Storage guidance includes keeping finished packs flat when feasible, using protective wraps that reduce condensation, and scheduling release timing so cartons equilibrate before they reach packing lines.
Where Should a Logo be Placed on Packaging?
A logo should usually appear where customers can identify the brand easily, such as the main display panel, lid, top, or another prominent surface. The final position should also account for product information, barcodes, legal text, folds, seams, closures, and other structural features.
Which Printing or Finishing Method is Best for a Packaging Logo?
There is no single method that works best for every package. Digital or offset printing may suit detailed graphics on certain paper-based packages, while flexographic or gravure processes are commonly used for other packaging formats. Embossing, foil stamping, and spot UV can add visual or tactile emphasis when the material and package structure support them.
How Long Does Logo Integration into Packaging Take?
The timeline depends on artwork preparation, packaging structure, printing method, proofing, finishing requirements, supplier capacity, and the number of revisions. A simple printed logo may require fewer production steps than a design involving custom dies, embossing, foil, or other specialist finishes, so lead times should be confirmed with the selected supplier.
How to Keep a Logo Clear and Durable on Packaging?
The logo should be tested on the intended material and under conditions similar to storage, shipping, retail display, and customer handling. Checking print proofs or prototypes can reveal problems with small details, poor contrast, ink adhesion, abrasion, moisture exposure, or finish durability before full production begins.
What Measurable Indicators Show Effective Logo Integration on Packaging?
Logo integration on packaging shows up in observable behaviors, scan results, and recognition outcomes. Use the indicators below to measure logo clarity and brand recall without switching to pricing or willingness-to-pay claims.
- Shelf scanning readability: Track the percentage of packages where shoppers read the logo name at first glance from typical shelf height. Record observations under two lighting conditions and note blur rate.
- Front-panel logo contrast: Measure logo-to-background contrast using a simple readability check. Compare pass rates for dark-on-light and light-on-dark artwork on the same substrate.
- Logo detail resolution: Count logo elements that remain legible at actual packaging size, such as letterforms, icon edges, and fine-line borders. Use a fixed viewing distance during inspections.
- Unboxing engagement cueing: Count the number of unboxing frames where the logo is visible and centered before the first product handle. Segment results by tape removal, lid opening, and insert removal steps.
- Scan-to-brand match rate: Record how often a scan of the logo area (barcode-adjacent label, URL panel, or QR placeholder printed near the logo) maps to the expected brand in your internal workflow. Track mismatches by artwork version.
- Logo recall after contact: Use short recognition checks right after packaging handling. Ask respondents to select the correct brand from 3 package images and record the correct-choice rate.
- Repeat recognition with no prompt: Measure recognition two days later using the same set of 3 images. Separate scores for logo-only visibility versus logo plus pack shape cues.
- Artwork consistency across SKUs: Audit a multi-SKU run and count mismatched logo files, wrong colors, or shifted alignment. Track defects per 1,000 packs and tie them to print batch or plate ID.
Apply these indicators to each packaging format if the logo size changes between paper sleeves, boxes, and inserts. Keep the measurement setup the same across runs so changes reflect the logo, not the test method.